Authorizations
Entering & Tracking Authorizations in QuickEMR
1. Open the patient’s Case → go to the Auth/Script tab.
2. Click Add to open the Authorization modal.
2. Click Add to open the Authorization modal.
Entering information for the Authorization
3. Complete all required fields (highlighted in green) and set the allowed usage:
- Max Visits – total number of visits allowed during the authorization period.
- Max Units (if used by your payer/clinic) – total billable units allowed for the period.
How is an Authorization tracked in Quickemr?
1. The authorization gathers the necessary data from the appointment book.
When you create an appointment, QuickEMR automatically links the relevant authorization to that visit. You can still change the authorization manually on the appointment if needed.
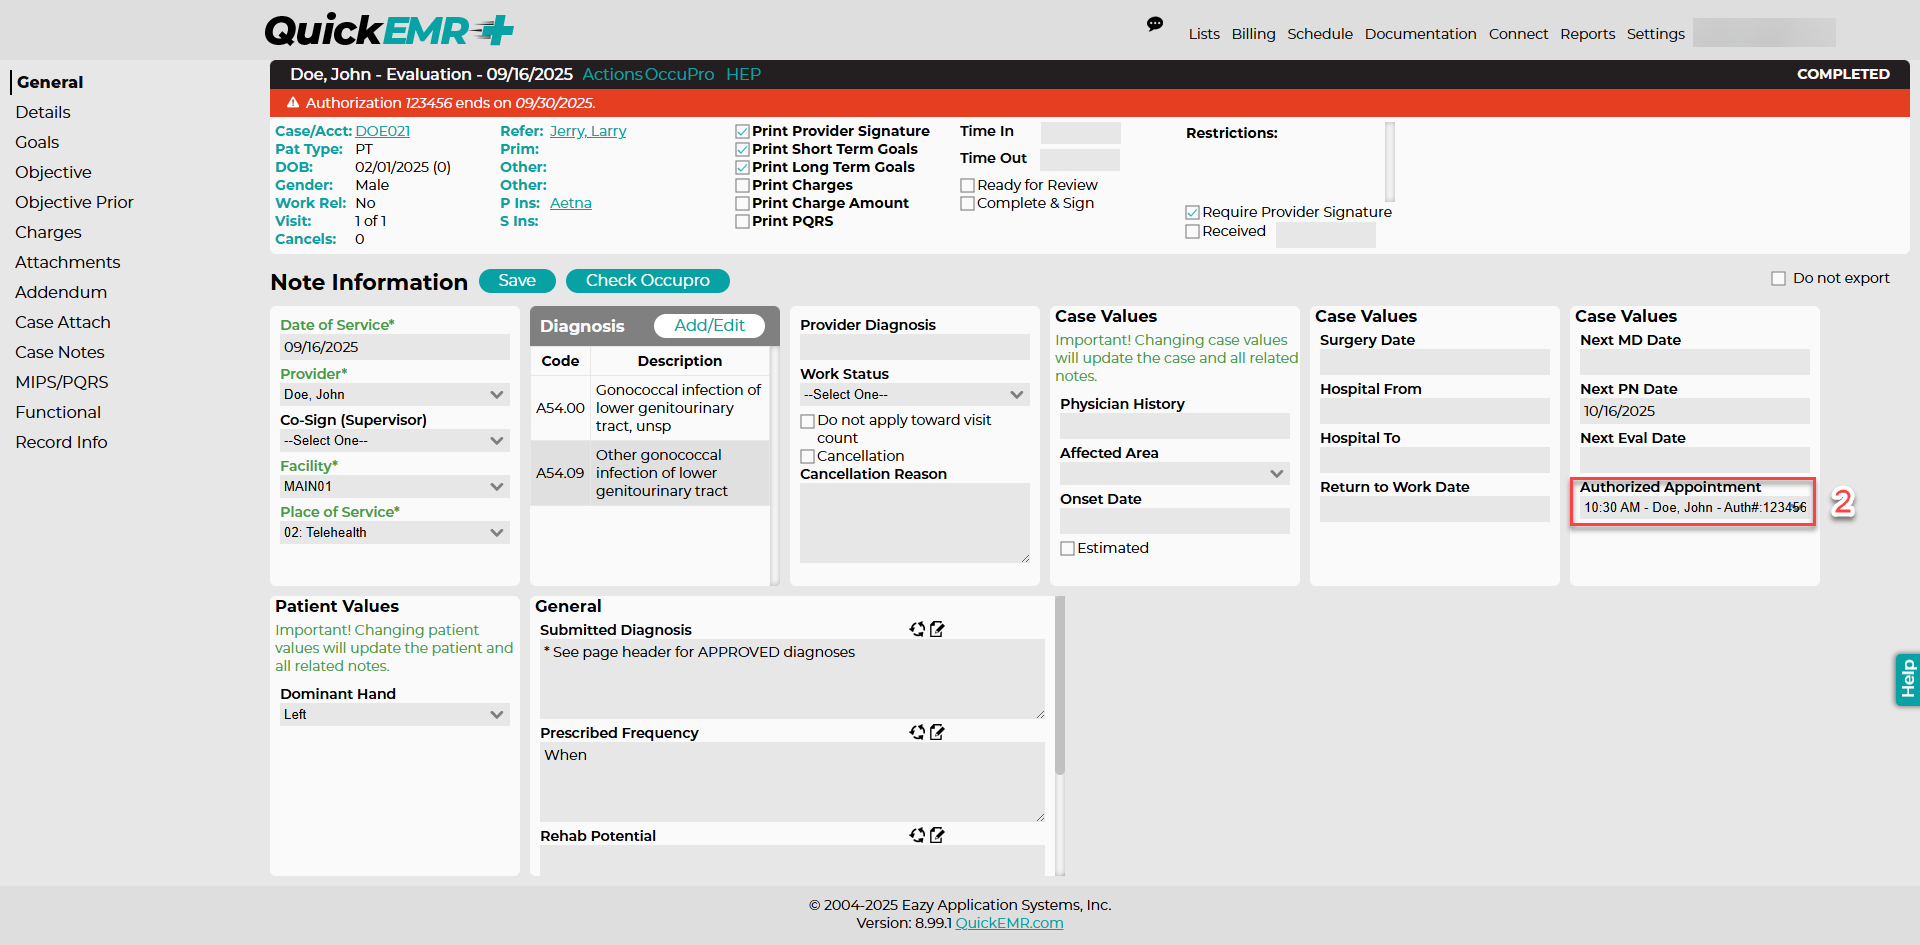
2. When a provider creates a note for that visit, the authorization set on the appointment carries over and is pre-selected on the note. If a note is created without a prior appointment, QuickEMR selects the most relevant authorization in the background to streamline workflow.
2. When a provider creates a note for that visit, the authorization set on the appointment carries over and is pre-selected on the note. If a note is created without a prior appointment, QuickEMR selects the most relevant authorization in the background to streamline workflow.
3. When an appointment status that represents a real patient visit is applied (e.g., Show), QuickEMR auto-calculates the remaining visit (and, if applicable, unit) counts for that authorization.
On the Auth/Script tab within the patients Case, you can view their current authorizations, as well as the Max Visits and Visits Used. When the patient is within three visits remaining, you will see a warning symbol appear next to the Visits Used count. When the patient has reached their current Max Visits or have exceeded that threshold, you will see a stop symbol appear next to the visit count.
Bulk assignment
1. Open the patient’s Case → Auth/Script tab and Click “Auth Assignment.
2. You’ll be taken to the Quick Find page. The Case will be pre-populated and Show Auth will be automatically checked so the Auth column is visible.
3. In the Auth column, users can select the authorization for each appointment using the dropdown.
Your selection saves immediately and updates that appointment— no separate Save is required.
Appointment Status Setting
If the authorization does not auto calculate in the system, ensure that the appropriate settings are checked for the appointment status.
The "Patient Visit" box must be checked for the status to count towards an authorization.
Authorization: Additional settings
A. If a user finds that the visit counts are not correct, click the "Recalculate Stats" button to refresh the numbers.
B. The system will always prioritize the first auth on file if the start and end date intersect with any other auth.
If a new auth is received and the old auth is no longer in use, we recommend that old auth is made inactive
Related Articles
User Permissions
Addresses, Address Notes, Address Groups: The Address permissions control the users ability to view, edit, delete, and print/export address information that is found at Lists --> Addresses and address groups found at List --> Misc --> Address Groups. ...