How to allow patients to schedule online? (Scheduling Portal)
Part 1 - Enable the Scheduling Portal
Step 1: Navigate to Schedule Portal Settings
Step 2: Enable the Portal
Part 2 - Create Online Timeslots
Step 1: Open Schedule Templates
1. Users can do this by going to Schedule -> Templates
Step 2: Timeslot on Template
3. Click, hold and drag down to add a new timeslot
Step 3: Creating the timeslot
| Field | What It Does |
|---|---|
| Provider | Which provider this appointment belongs to |
| From | Appointment start time |
| To | Appointment end time (patients only see the start time) |
| Allow Online Scheduling | Must be checked for patients to book this slot via online |
Important Rules
-
If the slot is already booked on a given day, it will not appear online
If Allow Online Scheduling is unchecked, patients will not see the slot
-
Slots repeat weekly based on the template
Step 4: Timeslots on the Appointment Book Calendar
Part 3 - Send a Patient Invitation
Step 1: How to send an Invite?
Step 2: Choose How to Send the Invite
| Option | Purpose |
|---|---|
| A - Copy Invite URL | Paste into your own email |
| B - E-Mail Credentials | Sends login directly from QuickEMR's email interface |
| C - QR Code | Patient scans on a tablet in the office |
Part 4 - Patient Experience
Account Registration
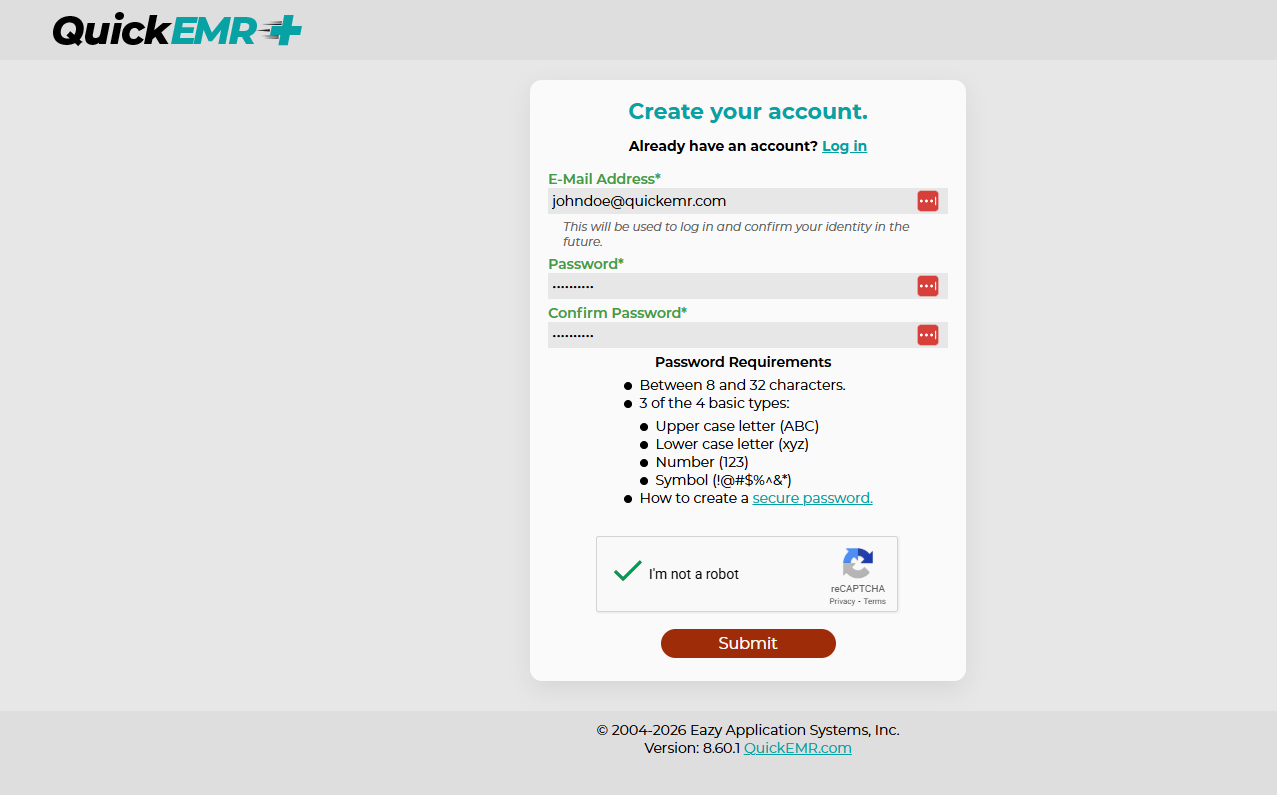
Patients:
-
Must register using a valid email
-
Must verify their account with a code (MFA)
Patient Dashboard
This is the patient’s home page. It allows them to:
-
View upcoming appointments
-
Reschedule their next appointment (if allowed)
-
Get directions to the facility
-
Review clinic instructions
Pre-visit Instructions
Clinics can display:
-
Arrival time requirements
-
Clothing or preparation instructions
-
Office policies
Patient Account Page
Schedule Page
This is where patients book appointments.
-
Only available timeslots are shown
-
Booked slots disappear immediately
-
The next available day is always shown
If the clinic or another patient books the slot first, it is removed from the list.
Appointment Confirmation
Part 5 - Clinic Support Tools
Update email login
Reset Password
Part 6 - Additional Settings
| Setting | What It Controls |
|---|---|
| A - Display Pre-Visit Details | Allows the clinic to enter and display their own custom pre-visit message to patients. This is a free-text field where the clinic can add general instructions such as arrival time, preparation steps, or office policies. Nothing is shown unless the clinic enters text. |
| B - Minimum Rescheduling Hours | Controls how close to the appointment time a patient is allowed to reschedule their next scheduled appointment. Patients can only reschedule their nearest upcoming appointment, not past appointments or appointments further in the future. Setting this to 0 disables this restriction. |
| C - Minimum Booking Hours | Prevents patients from booking an appointment a certain number of hours before the appointment start time. For example, setting this to 24 blocks same-day bookings. Set to 0 to allow last-minute bookings. |
| D - Appointments per Week | Limits how many appointments a patient can schedule in a week. If the patient has multiple active cases, the limit applies to each case separately. Set to 0 for no limit. |
Cancellation Policy
Provider Profile Image
Part 7 - Schedule Portal Reporting
Reports → Scheduling → Schedule Portal
Related Articles
QuickEMR - Reminder Calls & Text Messages Setup
Enabling the reminder feature will incur an additional charge, please reach out to Support@quickemr.com for additional info and pricing. Purpose Send appointment reminders to your patients Reduce No show and Cancellation Rates Permissions In order to ...How to create custom fields for the case? (Flex Fields)
Overview Case Flex Fields allow you to create custom fields that can be added to a case. Fields are organized into groups and can be displayed on the patient portal or printed documents. Part 1: Where to Go? Steps: (1) Hover over Settings (2) Hover ...SMS Marketing
QuickEMR allows your practice to send text messages to patients who have provided consent to receive marketing communications. Marketing messages can include general announcements, practice updates, promotional information, or personalized messages ...How to set up credit card payment system within QuickEMR?
Sign Up To sign up for Gravity Payments, click here. How to get started: The first step to setting up the credit card payment system is to contact Gravity Payments. You will need to create an account with Gravity, who will then send over your account ...Benefit & Eligibility Checking
QuickEMR now supports benefits & eligibility lookup for over 800 payers. This article describes the setup and usage of this new feature. Terms and Conditions for Use Warning! This feature will incur additional charges per transaction. By using this ...